Posted on — Leave a comment

Sleep better: light, air and quiet

Sleep better: light, air and quiet

We spend about a third of our lives asleep, but we rarely think about the room we sleep in. Yet light, air and sound have a big effect on how well we rest. Here are a few simple changes you can make tonight.

Dark at night, light in the morning

Your body clock follows light. Darkness tells your body it is time to sleep; light tells it to wake up. Keep the bedroom as dark as possible at night. Cover small lights from chargers and devices.

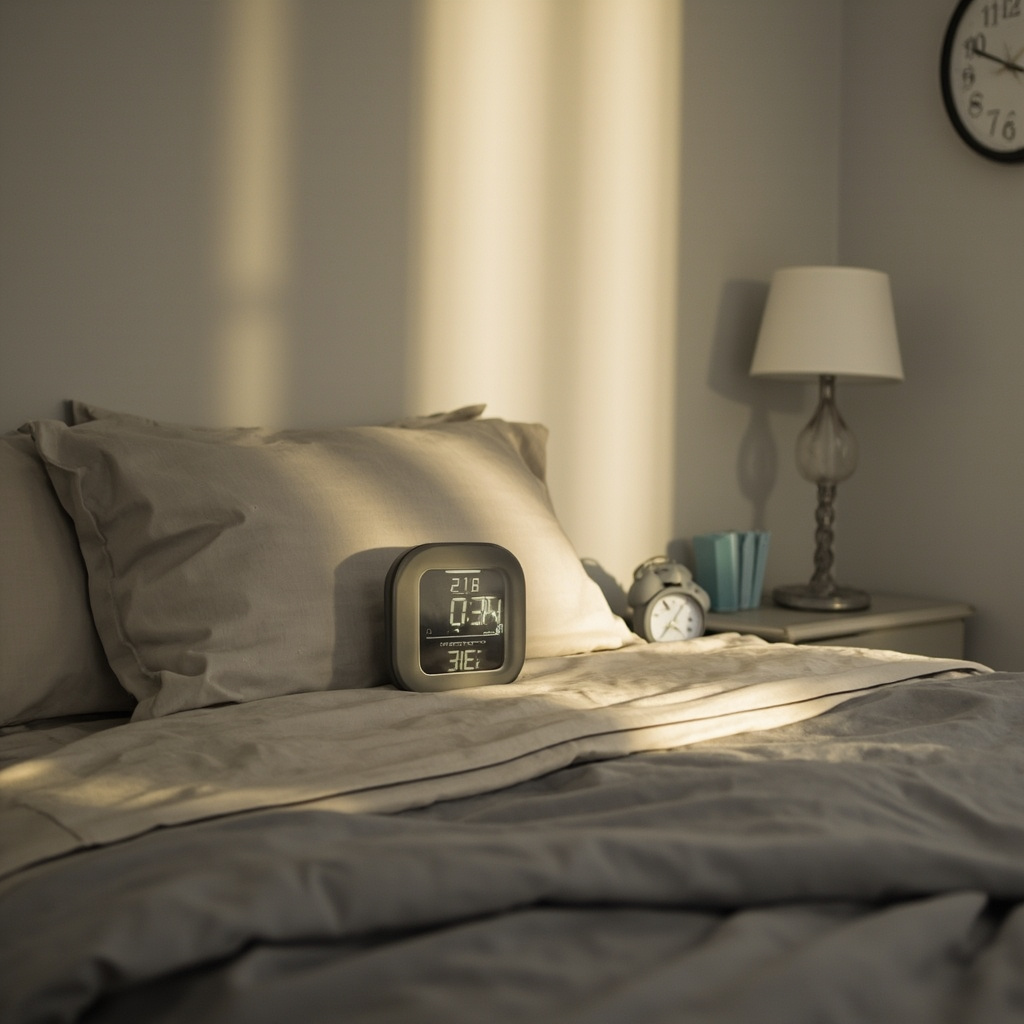
In the morning, light helps you wake up. In winter, it is often still dark when the alarm goes. The Zonnewende wake-up light alarm clock slowly brightens over thirty minutes before your alarm, like a sunrise. Most people wake up more easily and in a better mood. In the evening, its sunset mode dims slowly to help you fall asleep.

Need light to get to the bathroom at night? A night light with motion sensor gives just enough light to see, without waking you up fully.

Cool, fresh air

Most people sleep best in a cool room, between 16 and 19 degrees. A room that is too warm makes you restless.

Humidity matters too. Below about 40 percent, the air feels dry, and your throat may feel scratchy in the morning. Above 60 percent, the room feels stuffy, and mold can grow. A digital indoor thermometer and hygrometer shows both numbers, with a small face that tells you if the air is right. Air the bedroom for ten minutes every morning.

Quiet

Small sounds can keep you awake. A ticking clock is one of the most common. The wall clock with silent movement has a second hand that glides instead of ticks, so you won’t hear it. If your partner reads in bed, a clip-on reading lamp lights only the page, not the whole room.

A bed that invites you in

Fresh bedding, a soft throw at the foot of the bed and a tidy room help your mind settle. Clear the bedside table of everything but a lamp, a book and a glass of water. Under-bed storage bags keep spare bedding and out-of-season clothes out of sight.

A routine

Go to bed and get up at about the same time every day, also at the weekend. Your body likes rhythm. Within a week or two, you may find that you wake up just before your alarm, rested and ready for the day.
Posted on — Leave a comment

Better coffee at home

Better coffee at home

Good coffee at home doesn’t need an expensive machine. Most of the difference between a so-so cup and a great one comes from three things: fresh beans, the right grind and a warm cup.

Grind just before you brew

Coffee beans keep their aroma for weeks. Ground coffee loses most of it within an hour. That is why coffee from a bag of ground coffee tastes flat compared with coffee ground just before brewing.

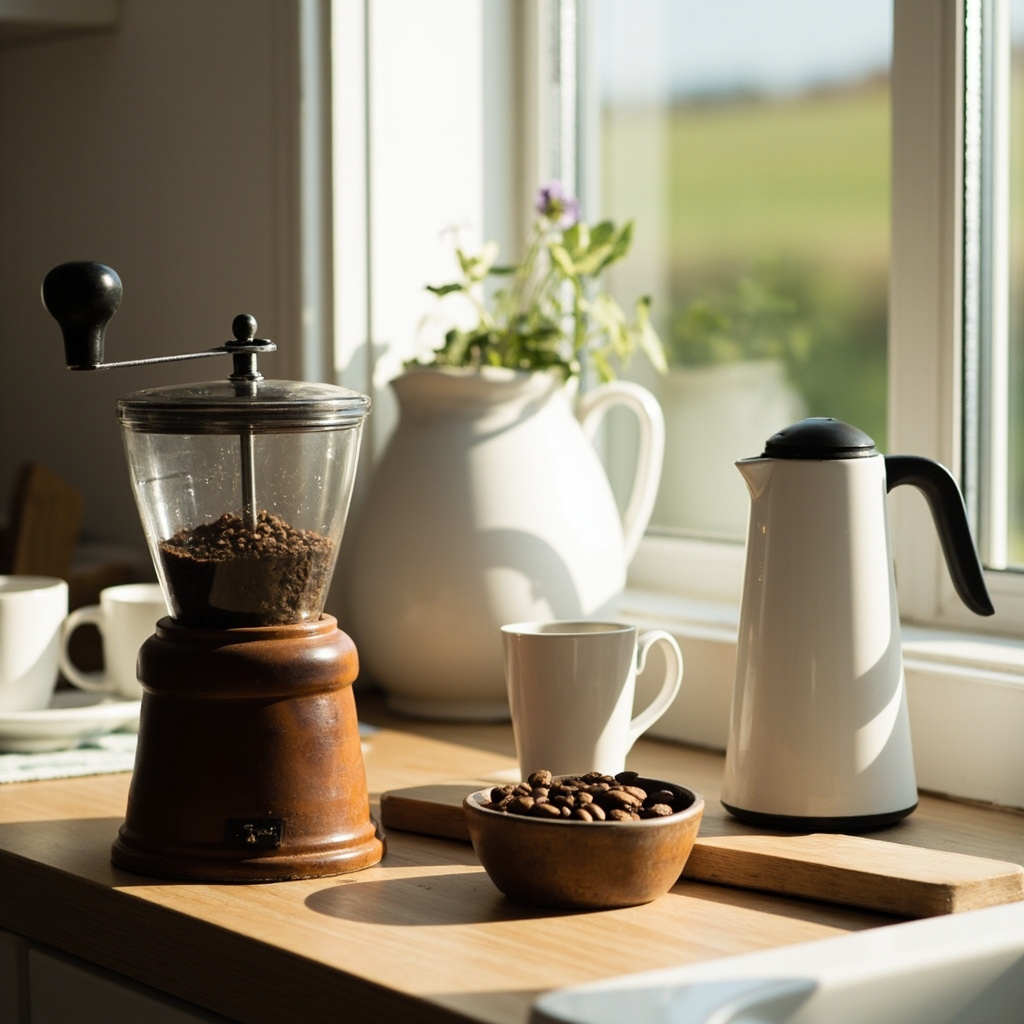
The Brammels manual coffee grinder has ceramic burrs that crush the beans to an even size. Grinding 30 grams, enough for two large cups, takes about a minute. It is quiet, so you can grind early without waking the house.

Match the grind to the method

  • Fine, like flour, for espresso.
  • Medium, like sand, for filter coffee.
  • Coarse, like sea salt, for a French press or cold brew.

Too fine, and the coffee turns bitter. Too coarse, and it tastes weak and sour. Adjust the grinder one step at a time until you like the result.

Store beans well

Keep beans in an airtight container, in a dark, cool cupboard. Not in the fridge: beans take on smells and moisture there. Buy small amounts that you use within two or three weeks.

Warm your cups

A cold cup takes heat from your coffee. Fill your cups with hot water from the kettle, wait a minute, pour it out, and then make your coffee. Thick-walled cups, like the cappuccino cups, set of 6, and the espresso cups, set of 4, hold that warmth for a long time.

Milk foam like a café

The electric milk frother makes foam in about ninety seconds. Use cold, whole milk for the creamiest foam. Choose firm foam for a cappuccino and light foam for a latte. Pour the coffee first, then the milk, and spoon the foam on top. In summer, the cold setting makes foam for iced coffee.

Water matters too

Coffee is almost all water. If your tap water tastes of chlorine, let it stand for a while or use filtered water. Don’t use water straight off the boil for filter coffee: let the kettle rest for half a minute first.

Take it with you

Made a full pot? Pour it into the vacuum flask 1 liter, and it stays hot for twelve hours. The grinder is small enough to take on a camping trip, so you can have fresh coffee by the tent.

Posted on — Leave a comment

A tidy hallway that stays tidy

A tidy hallway that stays tidy

The hallway is the first thing you see when you come home, and the first thing your guests see. It is also where coats, bags, shoes, keys and sand collect. With a few simple fixes, it becomes a calm entrance again.

Stop the dirt at the door

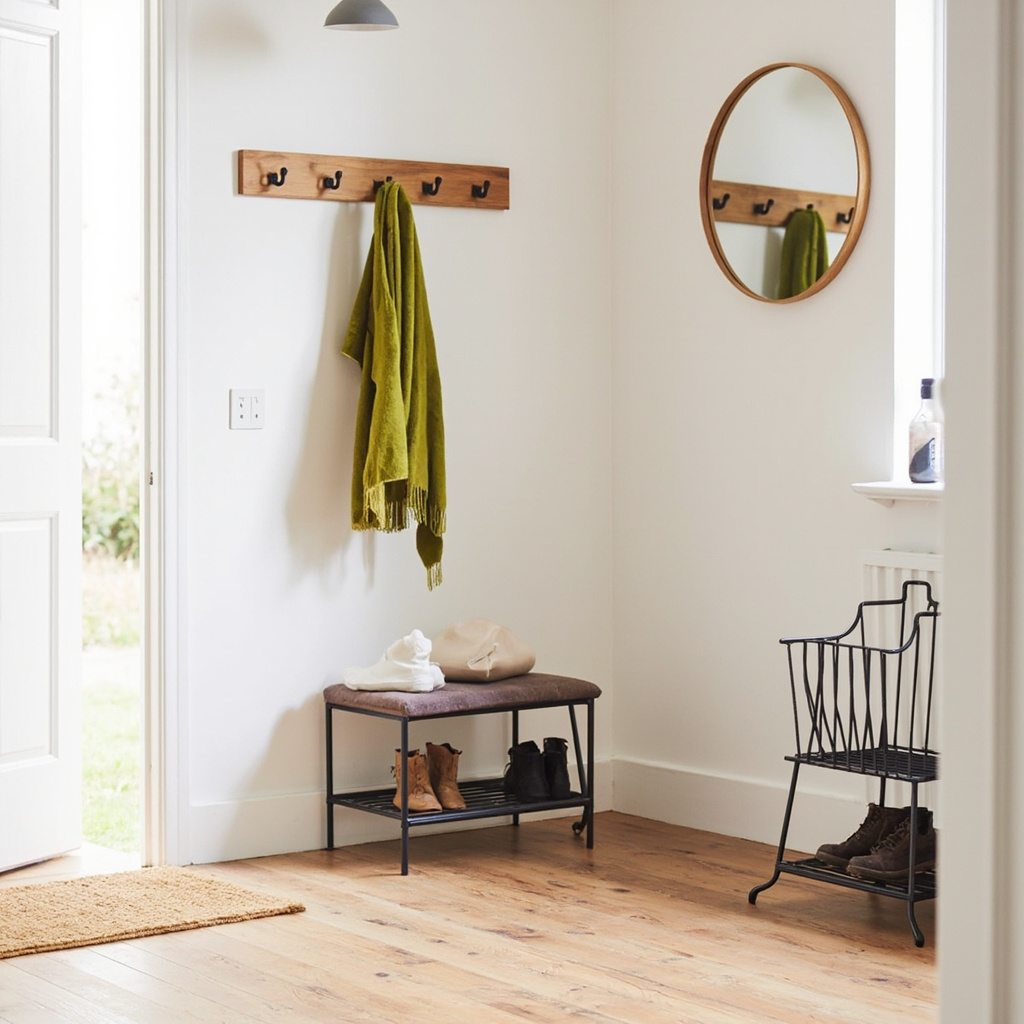
Most of the dirt in a home comes in on shoes. Two mats stop most of it. Outside, the rubber doormat 50 x 80 scrapes off mud and lets rain and snow fall through. Inside, the coir doormat 40 x 60 brushes off the rest. Shake both out once a week.

A home for shoes

Shoes in a pile by the door take up space and collect dust. The shoe rack with 3 tiers holds nine pairs and is only thirty centimeters deep. Keep the shoes you wear every day on the rack. Store the rest in clear shoe boxes, set of 6, on a shelf in the wardrobe. The front doors let you take out one pair without moving the stack.

Coats on the wall

The wall coat rack with 5 hooks gives you ten hanging spots on one oak board. Long hooks for coats, short hooks for bags, scarves and the dog leash. Hang a second rack lower on the wall for children. When they can reach their own hook, they hang up their own coat.

For busy days, or when guests come, a clothes rack on wheels gives extra room.

A spot for small things

Keys, sunglasses, gloves and post end up on every flat surface. Give them one place. A small seagrass storage basket on a shelf or a bamboo drawer organizer in a drawer catches everything. Empty it once a week.

Light and a mirror

Hallways are often dark. A round wall mirror 60 cm reflects light and makes a narrow hallway feel wider. It is also handy for a last look before you leave. For the dark winter evenings, a night light with motion sensor turns on by itself when you come in. Outside, an outdoor wall lamp with motion sensor lights up the path and the lock.

The five-minute rule

A tidy hallway stays tidy with a small habit. Every evening, take five minutes: shoes on the rack, coats on hooks, bags off the floor, keys in the basket. It is much easier than one big cleanup on Saturday.

Posted on — Leave a comment

Long summer evenings in the garden

Long summer evenings in the garden

Some of the best moments of summer happen in the garden after dinner, when the heat of the day is gone and the light turns golden. With a few simple things, you can stretch those evenings long after sunset.

Light that feels warm

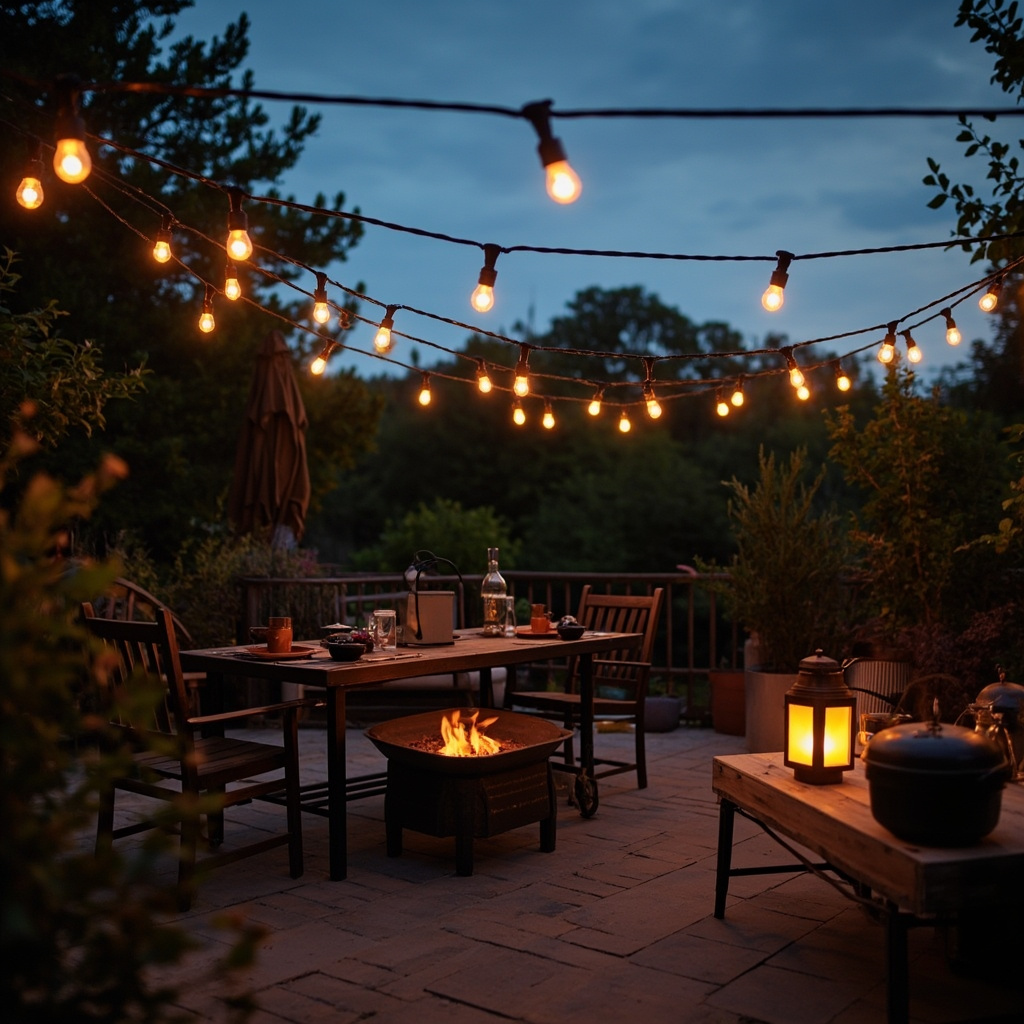
Bright floodlights chase the mood away. Soft, low light invites you to stay. Hang the outdoor string lights, 10 meters, along a fence, over a pergola or between two trees. The built-in timer turns them on every evening. On the table, a solar table lantern gives a warm glow like a candle, without a flame. Along the path, the solar garden lights, set of 6, show the way to the house.

Cook outside

Food tastes better outside. The charcoal barbecue 45 cm has a lid, so you can cook a whole chicken or vegetables slowly, like in an oven. Short on time? The tabletop gas barbecue is hot in five minutes. Keep the barbecue tools, 3 pieces, at hand, with their long handles that keep your hands away from the heat.

Prepare salads and drinks in advance. Keep them cold in the cool box 25 liters next to the table, so nobody has to walk back and forth to the kitchen.

Warmth when the sun goes down

Even in summer, evenings can cool down fast. A steel fire pit 60 cm gives warmth and something to look at. Sit around it with a few friends, and conversation comes by itself. Use dry wood, and keep a bucket of water nearby. A knitted throw or a fleece blanket over the back of each chair does the rest.

A comfortable spot

A hammock with spreader bar between two trees is the most relaxing seat in any garden. Folding camping chairs give extra seats when friends drop by, and fold away when they leave.

Keep the mosquitoes away

Mosquitoes breed in still water. Empty saucers and buckets, and keep the lid on the rain barrel. A pond with a pump that keeps the water moving has fewer mosquitoes too.

Music, softly

A little background music finishes the evening. The Zonnewende bluetooth speaker, waterproof, plays for twelve hours and doesn’t mind a drop of dew. Keep the volume low: your neighbors are enjoying their evening too.

Posted on — Leave a comment

Rainy-day ideas for kids

Rainy-day ideas for kids

A rainy day with children at home can feel long. With a few good ideas, it can also be one of the best days of the week. Here are seven ways to fill an afternoon without a screen.

1. Build something big

Pull out every building toy you have and build a whole city on the floor. The wooden block set, 100 pieces, makes towers and walls. The magnetic building tiles, 60 pieces, fold up into houses and rockets. Lay the wooden train with tracks through the middle, and the city comes alive.

2. Open a café

Pretend play keeps children busy for hours. Set up the wooden play kitchen as a café. One child cooks, another serves, and the grown-ups order. The wooden tea set is perfect for a tea party with the teddy bear and the plush rabbit as guests.

3. Paint a picture

Cover the table with old newspaper, fill two glasses with water, and open the watercolor paint set. Paint the view from the window, a favorite animal or a made-up monster. Use thick paper, so it doesn’t curl. Hang the results on the wall like an exhibition.

4. Do a puzzle together

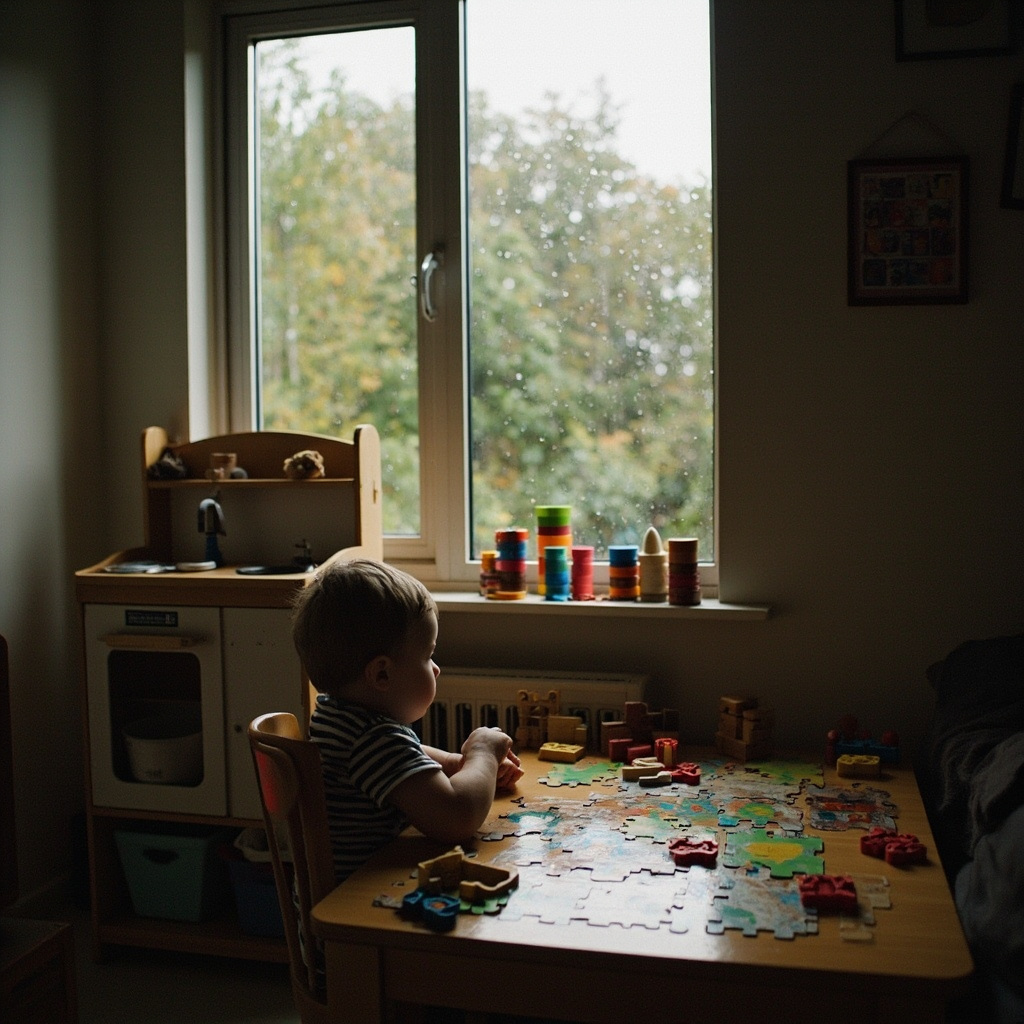
For the youngest, the wooden puzzle with knobs, farm animals, is a first success. Older children can try the puzzle 500 pieces for kids, with its cheerful zoo. Start with the edges and sort the pieces by color.

5. Play a game

A short game fits any afternoon. The board game Farmyard Gang takes about twenty minutes and mixes luck with a little counting. The card game Farmyard Swap is even quicker. Dominoes in a tin box work as a game, and as a long chain to knock over.

6. Build a den

A few chairs, a table and some blankets make the best den in the world. Add a fleece blanket on the floor, cushions and a clip-on reading lamp, and read a book inside.

7. Go out anyway

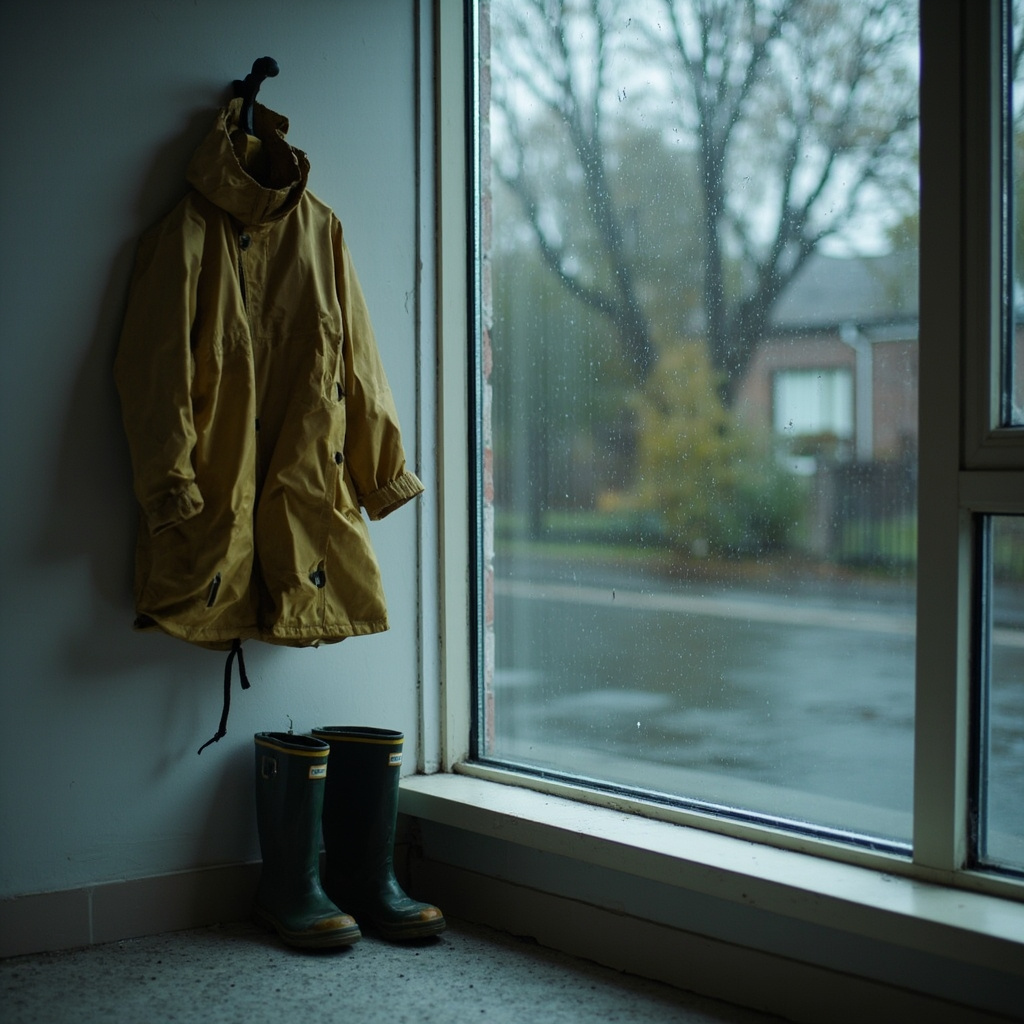
Rain isn’t a problem with the right clothes. Put on the kids’ rain jacket and the kids’ rain boots, and go puddle jumping. Ten minutes outside in the rain often does more for a restless child than an hour inside. Back home, hot chocolate is waiting.

Whatever you choose, join in for part of it. Children remember the afternoons when their parents built the den with them.

Posted on — Leave a comment

Which pan for which job?

Which pan for which job?

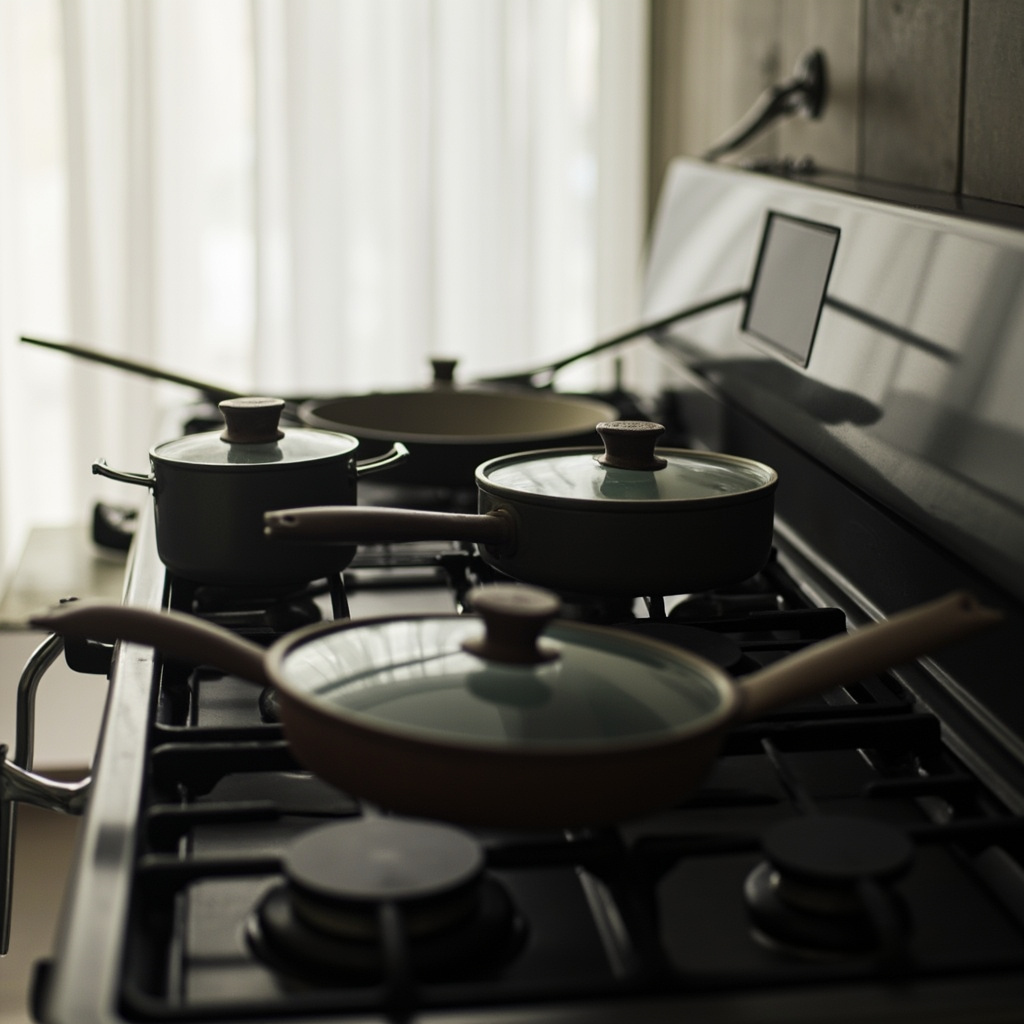
Most kitchens have a cupboard full of pans, and most cooks use the same two every day. That is a pity, because each shape does one job better than the others. Here is a short guide to four pans and what they are good at.

The small saucepan: sauces, eggs and one serving of soup

A pan of about 16 centimeters is the one you reach for most. It heats a cup of milk, cooks two eggs or makes a white sauce. What matters is the base. The Steenwijck saucepan 16 cm with lid has a base of three layers, with aluminum in the middle. Aluminum spreads the heat to the edge, so milk doesn’t burn along the side. The hollow handle stays cool.

Prefer a warmer look? The Steenwijck enamel saucepan 16 cm does the same job. Enamel doesn’t react with acid food, so a tomato sauce tastes the way it should.

The frying pan: quick, hot and flat

A frying pan has low sides, so steam escapes and food browns instead of steaming. The Steenwijck frying pan 28 cm, nonstick, fits four eggs side by side, two steaks or a large pancake. Its thick base doesn’t warp on a hot burner, so the oil stays spread out. Use a wooden or silicone spatula to keep the coating smooth for years.

The saute pan: the pan that does almost everything

A saute pan has the wide base of a frying pan and the high side of a pot. Brown onions and meat, add tomatoes and stock, put on the lid, and let it simmer. The Steenwijck saute pan 28 cm with glass lid has a side of seven centimeters and holds 3.5 liters. It goes into the oven up to 180 degrees, lid and all. If you buy one extra pan this year, make it this one. Risotto, curry, a stew for four or a large pan of vegetables: it handles them all.

The casserole: slow cooking for a crowd

For a stew that simmers for two hours, a big pot of soup or rice for six, you need a casserole. The Steenwijck enamel casserole 24 cm holds 4.5 liters and goes into the oven up to 220 degrees. Two short handles make it easy to lift with oven gloves. Start on the stove, finish in the oven, and serve it at the table.

A few rules for every pan

  • Match the burner to the base. A small pan on a big flame burns the handle and wastes heat.
  • Let a hot pan cool before you wash it. Cold water on a hot pan can warp it or crack enamel.
  • Use wooden or silicone tools on nonstick and enamel.
  • Soak, don’t scrub. Ten minutes in warm water loosens almost anything.

Four pans cover nearly every recipe. Start with the one you are missing, and see how much easier dinner becomes.

Posted on — Leave a comment

Water column explained: when is rain gear really waterproof?

Water column explained: when is rain gear really waterproof?

On the label of a rain jacket or a tent, you often see a number like 3000 mm or 8000 mm. That number is the water column. It tells you how waterproof the fabric is. Here is what it means and how much you need.

What the number measures

Imagine a tall tube placed on top of the fabric, filled with water. The water presses down on the fabric. The higher the column of water, the more pressure. The water column is the height at which water starts to come through. A fabric with 8000 mm can carry a column of water eight meters high before it leaks.

Real rain doesn’t stand eight meters high on your jacket, of course. But pressure comes from other places. When you sit on a wet bike saddle, your weight pushes water into the fabric. A backpack strap presses on your shoulders. Wind drives rain against you. That is why a higher number matters.

How much do you need?

  • Up to 1500 mm: water-repellent. Fine for a short shower, not for a long day.
  • 3000 mm: good for a tent flysheet, like our tent for 2 persons, and for a walk in steady rain.
  • 5000 mm and more: waterproof for most daily use.
  • 8000 mm and more: made for long bike rides and heavy rain. The Wolkendek women’s rain jackets and the men’s rain jacket, green, have 8000 mm.

The seams matter as much as the fabric

A jacket is made of pieces of fabric sewn together. Every stitch is a tiny hole. In heavy rain, water finds those holes. That is why good rain gear has taped seams: a thin strip of waterproof tape on the inside covers every line of stitching. A fabric of 8000 mm with open seams leaks at the shoulders within an hour.

Dry from the inside too

A fully closed jacket keeps rain out, but it also keeps the warmth and moisture of your body in. On a bike, you can end up wet from sweat. Look for zips under the arms. Open them when you get warm, and damp air escapes.

Keep it waterproof

The outside of good rain gear has a water-repellent layer that makes rain bead up and roll off. Dirt and fabric softener damage that layer. Wash your rain jacket at thirty degrees, without softener, and hang it to dry. When rain stops beading, a new spray-on treatment brings it back.

For the unexpected shower, keep a rain poncho in your bag. For dry legs on the bike, add the Wolkendek men’s rain pants, black. And for dry feet, see the women’s rain boots of natural rubber.

Posted on — Leave a comment

Get your garden through winter without work in spring

Get your garden through winter without work in spring

When the first frost comes, it is tempting to close the back door and forget the garden until spring. But a few hours of work in late autumn save you broken pipes, cracked pots and a lot of tidying in March.

Empty everything that holds water

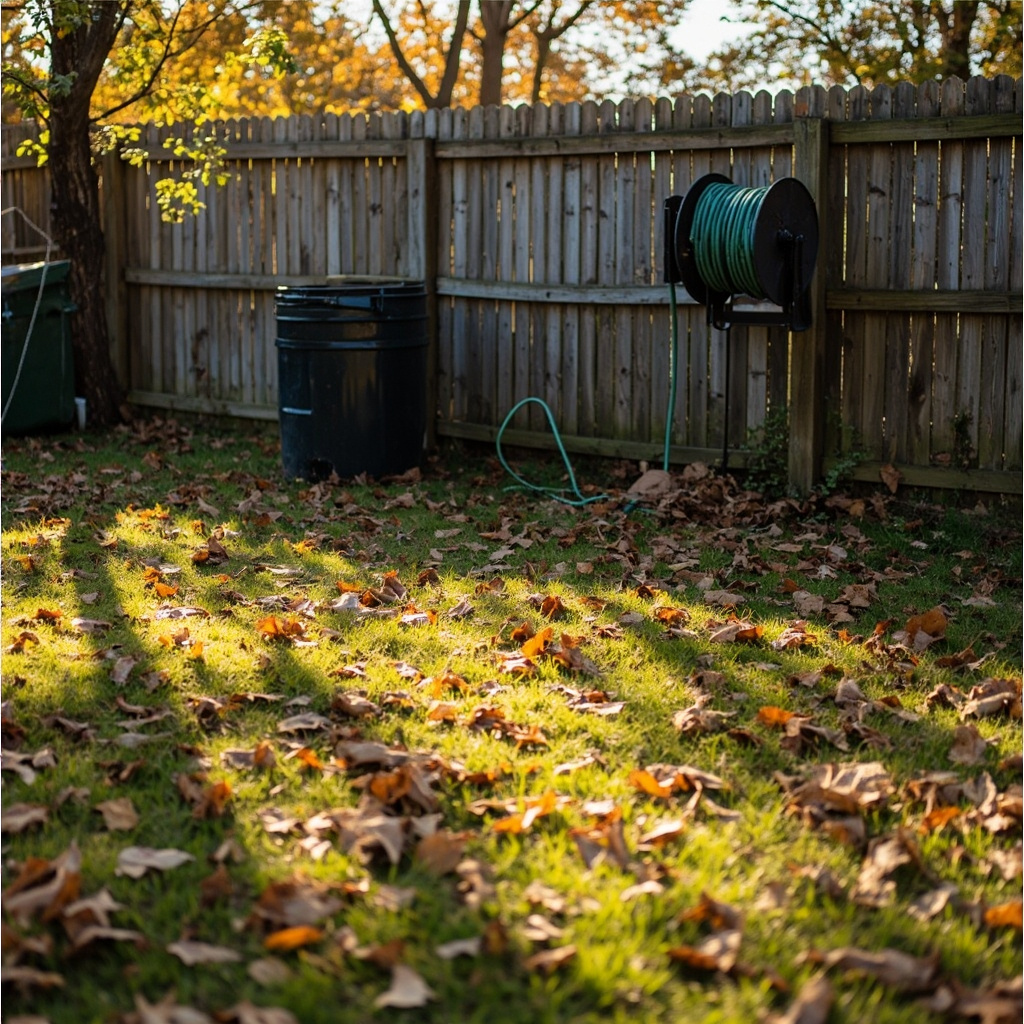
Water expands when it freezes. Anything that holds water can crack or burst. Empty the rain barrel and open its tap, so ice can’t damage it. Drain the garden hose, roll it up and bring it inside. The wall-mounted hose reel lifts off its bracket with one hand, so the whole thing can go into the shed. Take the spray nozzle off and store it inside too.

Turn the outside tap off from inside the house, if you can, and open it outside to let the last water out.

Protect the pond pump

Take the pond pump out of the water before the first hard frost. Rinse the pre-filter and store the pump in a bucket of water in a frost-free place. That keeps the seals from drying out.

Pots and planters

Our terracotta plant pots are fired to be frost resistant, but only if they don’t stand in water. Lift them onto pot feet or bricks, and empty the saucers. The same goes for the glazed plant pots. Move tender plants, like rosemary in a small pot, against a sheltered wall.

Leave the leaves, but not everywhere

Fallen leaves on a lawn block light and cause bare patches. Rake them off the grass. But in the borders, leaves are welcome. They protect the soil, feed worms and give insects a place to spend the winter. Put the rest in the compost bin 300 liters. Mixed with kitchen waste, they make rich compost by next autumn.

Clean and oil your tools

Sap and soil on tools cause rust. Before you hang them up for winter, clean the bypass pruning shears, the hand hedge shears, the hand hoe and the garden trowel. Dry them, and put a drop of oil on the blades and the hinges. Hang them on the garage wall rack for garden tools, so nothing lies on a damp floor.

Feed the birds

Winter is hard for birds. A hanging bird feeder near a window brings them close, and it is a pleasure to watch on a gray morning. Keep it clean and full from November to March.

Plan for spring

Finally, plant spring bulbs before the ground freezes. With the bulb planter with foot rest, a hundred tulips go in without bending. In March, they will be the first color in the garden, and you will be glad you did the work now.

Posted on — Leave a comment

Choosing a cordless drill: volts, torque and what you really need

Choosing a cordless drill: volts, torque and what you really need

A cordless drill is the power tool most people buy first. The shelves are full of numbers: volts, amp hours, newton meters. Here is what they mean and what you really need for jobs at home.

Volts: how strong the drill is

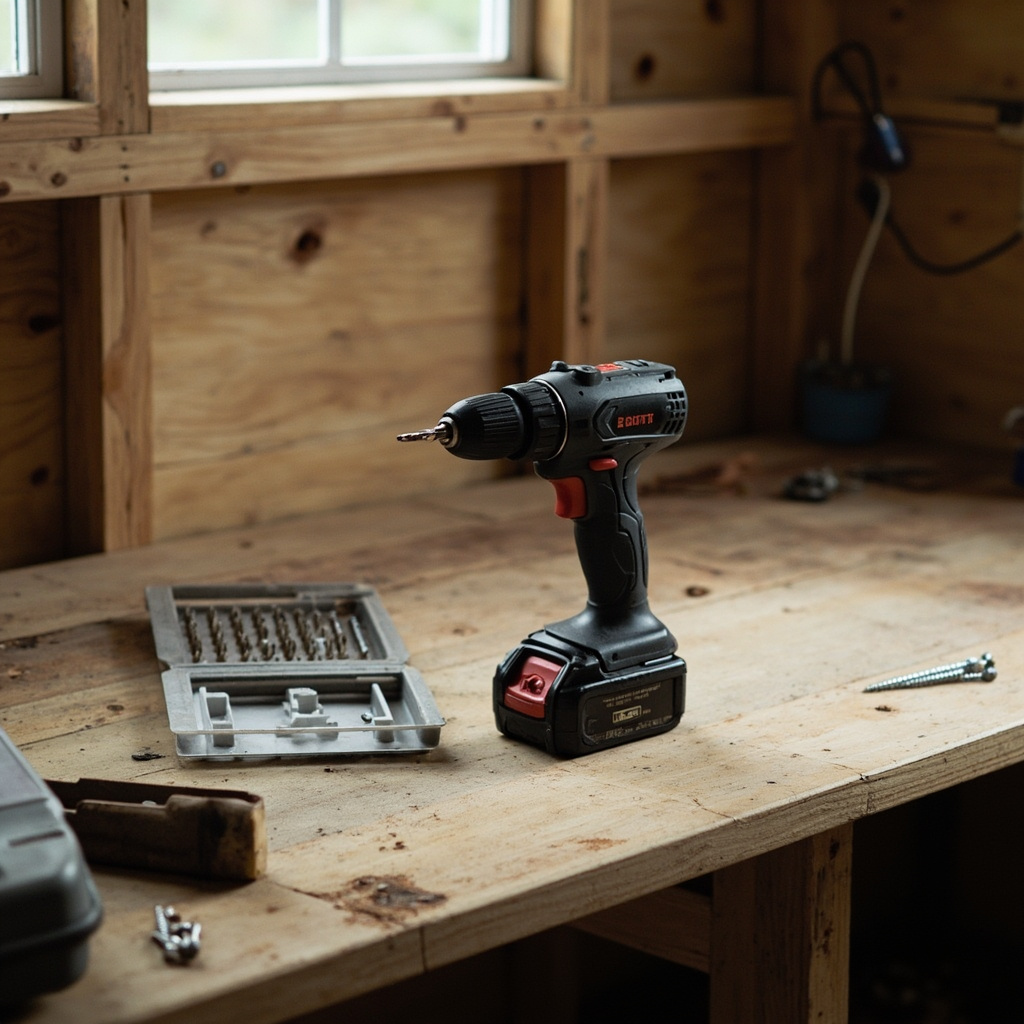
The voltage of the battery says how much power the drill has. Small drills of 10.8 or 12 volt are light and handy for flat-pack furniture. For drilling into stone, driving long screws or building a shed, 18 volt is the common choice. The Hoogmaat cordless drill 18 volt has enough power for nearly every job in and around the house.

Amp hours: how long the battery lasts

Amp hours, or Ah, tell you how much energy the battery holds. A 2.0 Ah battery is light and fine for a few hours of normal work. A 4.0 Ah battery lasts twice as long, but is a little heavier. The Hoogmaat drill comes with two 2.0 Ah batteries, so one is always charging. For a big job, like a deck, add the Hoogmaat battery 18 volt 4.0 Ah. It fits every Hoogmaat 18 volt tool.

Torque settings: the ring behind the chuck

The numbered ring behind the chuck sets the torque, the turning force. At a low setting, the drill stops as soon as the screw meets resistance. That stops you from driving a screw too deep into soft drywall. At a high setting, it keeps turning into hard wood. The drill symbol means no limit, for drilling holes. Start low and turn it up until the screw sits flush.

Drill or impact driver?

A drill drills holes and drives screws. An impact driver only drives screws, but it does that much better. When a long screw gets tight, it gives short, strong blows that push it in without twisting your wrist. If you build decks, fences or sheds, the Hoogmaat cordless impact driver 18 volt is a great second tool. It is sold without a battery, because it uses the same batteries as the drill.

Bits matter as much as the drill

A strong drill with a blunt bit is slow and frustrating. Use the right bit for the material: wood bits with a center point, masonry bits with a hard tip, and metal bits of high-speed steel. The drill and bit set, 100 pieces, has all three in the sizes you use most.

Our advice

  • For flat-pack furniture and the odd picture: a ratcheting screwdriver may be all you need.
  • For general jobs at home: an 18 volt drill with two batteries.
  • For decks, fences and sheds: add an impact driver and a 4.0 Ah battery.

And whatever you choose, wear safety glasses when you drill. A chip of stone in your eye ends the job early.

Posted on — Leave a comment

Five jobs you can do with one tool set

Five jobs you can do with one tool set

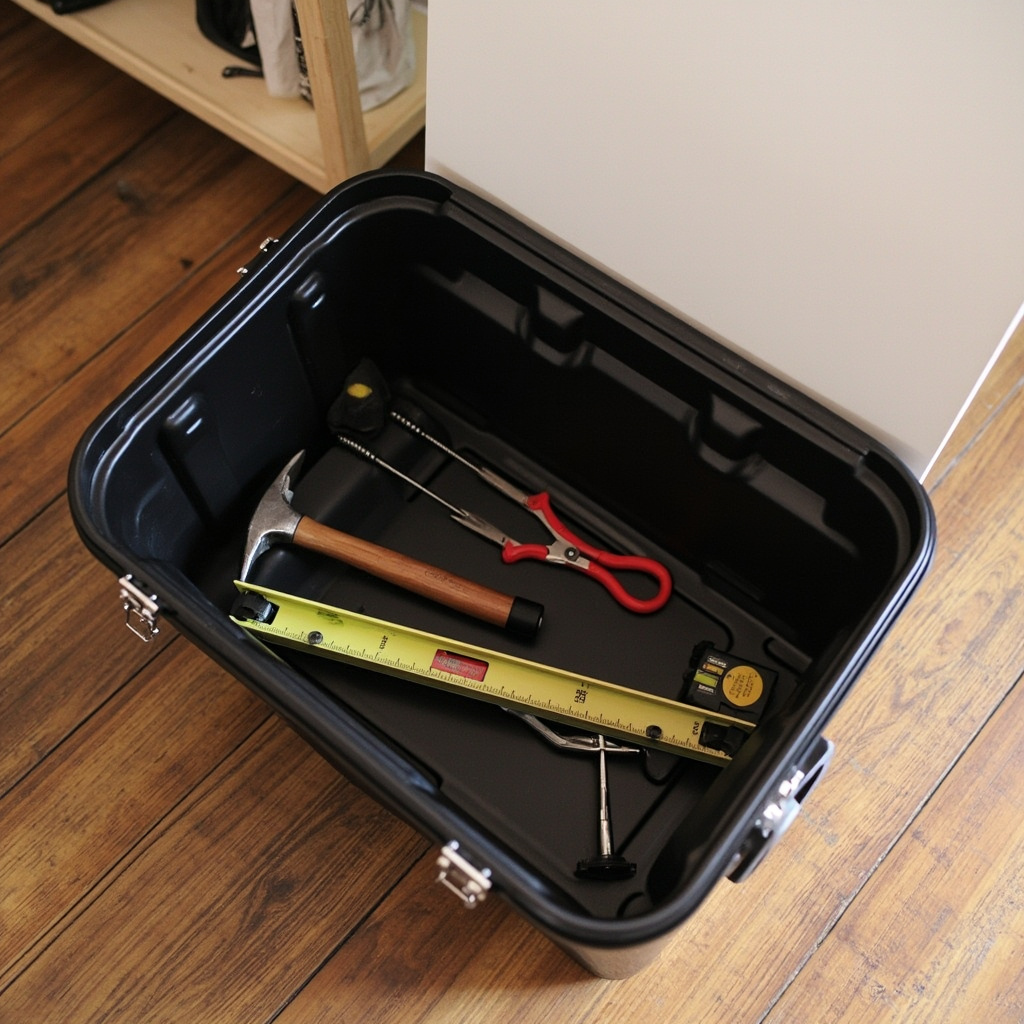
Many people call someone for jobs they could easily do themselves. With a good basic tool set and a little patience, most small repairs take less than an hour. Here are five common jobs and the tools from the Hoogmaat toolbox, 89 pieces, that do them.

1. Hang a picture or a mirror

Measure where you want it with the tape measure, and mark the spot with a pencil. For a light frame, a nail and the hammer are enough. For a heavier mirror, like the round wall mirror 60 cm, drill a hole, push in a wall plug, and drive a screw. Use the spirit level to check that a row of frames hangs straight. The wall plugs and screws assortment of 400 pieces has the right size for every weight.

2. Fix a dripping tap

A dripping tap often needs nothing more than a new washer. Turn off the water under the sink first. Use the water pump pliers to loosen the nut, with a cloth around it to protect the chrome. Replace the washer, tighten the nut, and turn the water back on. Ten minutes, and a lot less water on your bill.

3. Tighten a wobbly chair or table

Furniture loosens over time. Turn the chair upside down and check every screw and bolt. Tighten them with a screwdriver or the hex keys that came with the furniture. If a screw keeps turning, the hole is worn. Fill it with a few wooden toothpicks and some wood glue, let it dry, and drive the screw again.

4. Adjust a sticking door

When a door rubs against the frame, the hinges are often loose. Open the door and tighten the screws in the hinges. If that doesn’t help, replace one screw in the top hinge with a longer one that reaches into the wall behind the frame. It pulls the door back into place.

5. Assemble flat-pack furniture

Lay out all the parts and count the screws before you start. Sort them in a cup or a tray. Follow the steps in order, and don’t tighten everything until the whole piece stands. A ratcheting screwdriver with 30 bits saves your wrist, because you don’t need to let go of the handle.

Keep it safe and tidy

  • Wear the clear safety glasses when you drill, saw or hammer.
  • Switch off the power before you touch anything electrical.
  • Put every tool back in its own compartment. An empty spot shows what you left behind.

Once you have done one of these jobs, the next one is easier. And the toolbox pays for itself the first time you don’t need to call someone.