Posted on — Leave a comment

Composting in a small garden

Composting in a small garden

Compost is the best food there is for a garden, and you can make it yourself from waste you already throw away. You don’t need a big garden or a lot of time. One bin in a corner is enough.

Choose a spot

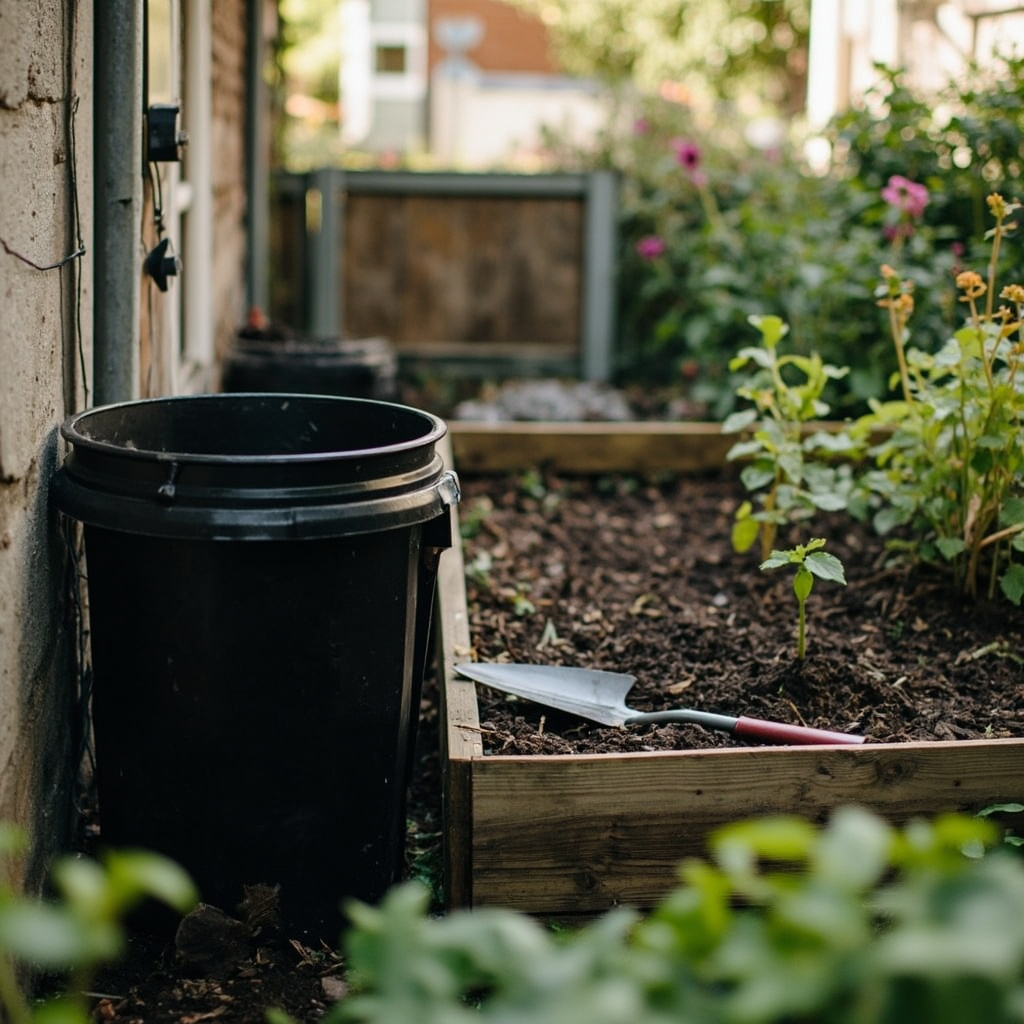
Place the bin directly on soil, not on tiles or concrete. Worms, beetles and other small helpers come in from below and do much of the work. A spot in half shade is best. In full sun, the compost dries out. In deep shade, it stays cold and slow.

The compost bin 300 liters takes about fifteen minutes to set up. The panels click together without screws, and the lid locks so wind and animals stay out.

Green and brown

Good compost needs two kinds of material, in roughly equal amounts.

  • Green: vegetable and fruit peels, coffee grounds, tea leaves, fresh grass clippings and soft plant material. Green brings nitrogen and moisture.
  • Brown: dry leaves, small twigs, straw, torn cardboard and egg boxes. Brown brings carbon and air.

Too much green, and the bin turns wet and smelly. Too much brown, and nothing happens. Add them in thin layers, and the balance takes care of itself. A bag of dry leaves next to the bin, collected in autumn, is handy for all year.

What stays out

Leave out meat, fish, dairy, cooked food with oil, and pet waste. They smell and attract rats. Also leave out weeds with seeds and diseased plants.

Air and water

Compost needs air. The openings in the sides of the bin let it in. Once a month, stir the top layer with a garden fork. The compost should feel like a wrung-out sponge: damp, not wet. In a dry summer, pour a watering can of water over it. Rainwater from the rain barrel works well.

Harvest

After six to twelve months, the bottom of the bin turns into dark, crumbly soil that smells like a forest floor. Open the hatch at the bottom and scoop it out with the garden trowel with ash handle. The new waste keeps going in at the top.

Mix the compost into your borders, or fill the raised garden bed, cedar wood, with a mix of compost and garden soil. Your vegetables will notice the difference.

Small garden, small waste

A family produces a surprising amount of kitchen waste. With a compost bin, much of it goes back into your own garden instead of into a container. Less waste, better soil and free plant food. That is a good deal for one corner of the garden.
Posted on — Leave a comment

LED bulbs explained: lumens, kelvin, E27 and E14

LED bulbs explained: lumens, kelvin, E27 and E14

For years, we bought light bulbs by watts: 40 for a bedside lamp, 60 for a table lamp, 100 for the ceiling. LED bulbs use so little power that watts no longer tell you much. Here is what to look at instead.

Lumens: how bright

Lumens measure the amount of light a bulb gives. More lumens means more light. As a rough guide:

  • about 250 lumens is like an old 25 watt bulb, for a night light or a decorative lamp,
  • about 470 lumens is like 40 watt, for a bedside lamp or a chandelier,
  • about 806 lumens is like 60 watt, for most table and floor lamps,
  • 1500 lumens or more is like 100 watt, for a ceiling light in a large room.

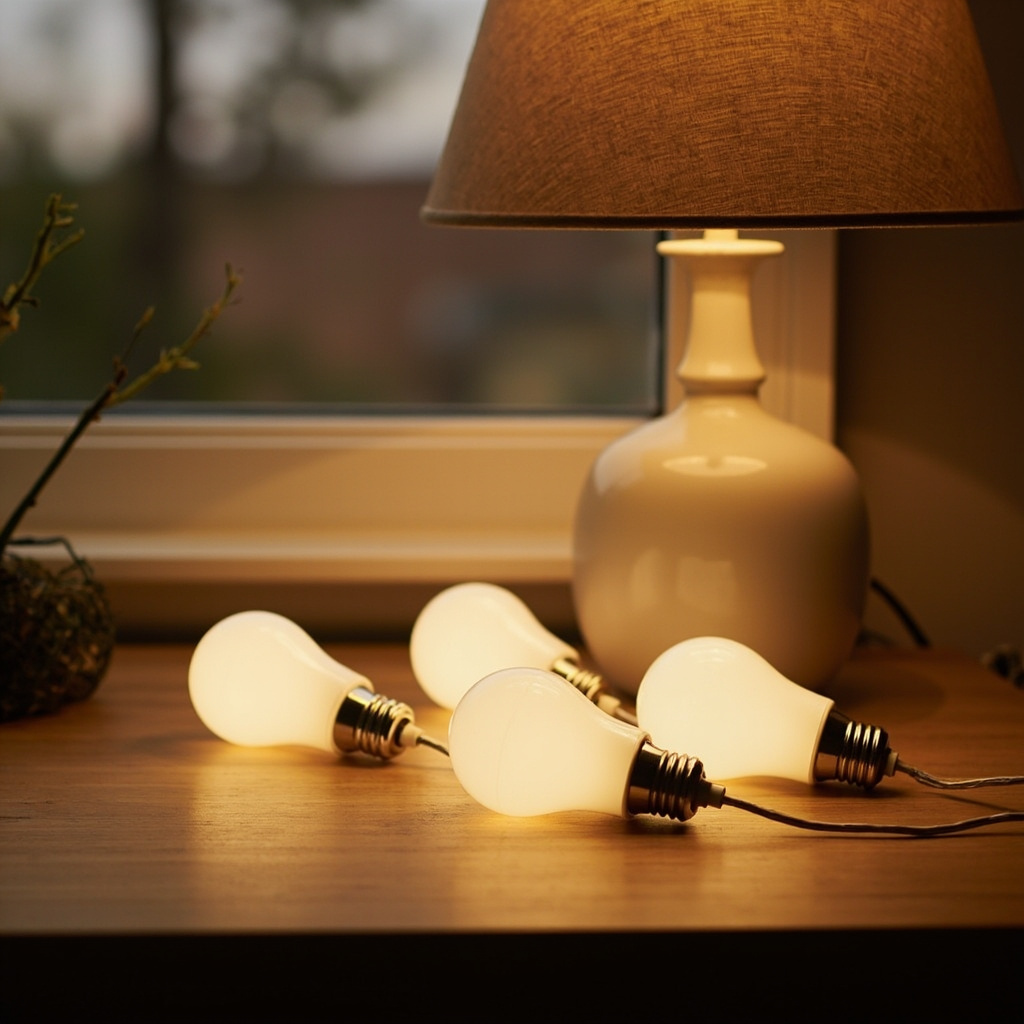
Our LED bulb E27, warm white, 3 pieces, gives 806 lumens for only 7 watt. The LED candle bulb E14, 3 pieces, gives 470 lumens for 4 watt.

Kelvin: the color of the light

White light comes in many colors. Kelvin, written as K, measures it. A low number is warm and yellow; a high number is cool and blue.

  • 2700 K is warm white, like an old bulb. Cozy for a living room and a bedroom.
  • 4000 K is neutral white. Good for a kitchen, a bathroom and a desk.
  • 5000 K and more is cool daylight. Good for a workshop or detailed work.

Can’t decide? The LED desk lamp with dimmer has all three, and the Zonnewende smart LED bulb E27, color, changes from warm to cool from your phone.

E27 and E14: the fitting

The fitting is the screw thread at the bottom. The number is its width in millimeters. E27 is the large, common fitting in table lamps, floor lamps and pendant lamps. E14 is the narrow fitting in chandeliers, wall lamps and small lamps. Check the old bulb or the label inside the lamp before you buy. The two don’t fit each other.

Dimmable or not

Not every LED bulb can be dimmed. A bulb that isn’t dimmable flickers or hums on a dimmer switch. Check the pack. Our basic E27 and E14 bulbs are not dimmable; the smart bulb dims from the app.

Why it is worth switching

An LED bulb uses about a tenth of the power of an old bulb and lasts about fifteen years at a few hours a day. That saves money every month and saves you climbing on the household step ladder, 3 steps, to change bulbs.

Posted on — Leave a comment

A calm bathroom in five steps

A calm bathroom in five steps

The bathroom is the first room you see in the morning and the last at night. When it is cluttered, it doesn’t feel restful. You don’t need to renovate to change that. Five small steps make a big difference.

1. Choose two or three colors

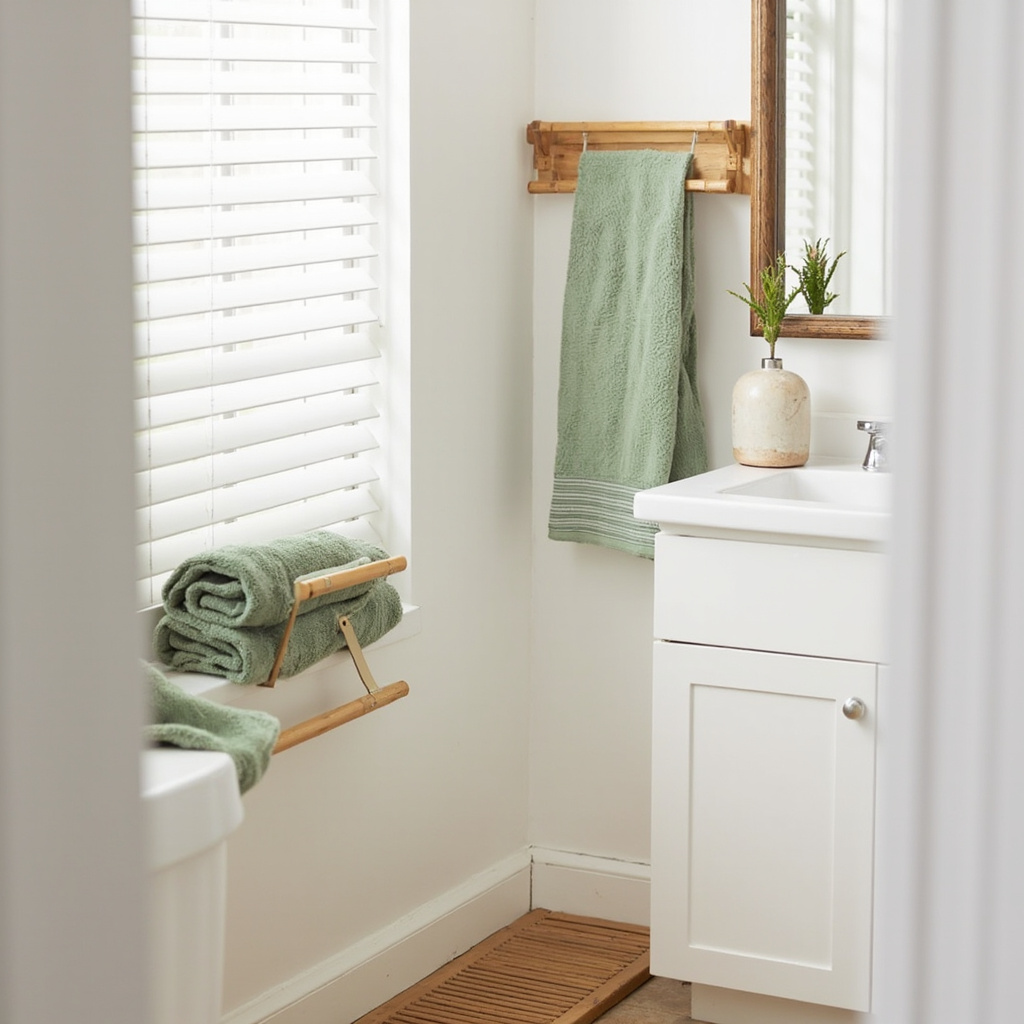
A calm room has few colors. Pick one main color for towels and mats, and one or two quiet colors for the details. The Golfslag bath towel 70 x 140, the hand towel 50 x 100 and the bath mat 60 x 90, cotton, come in the same four colors: white, sand, sage green and anthracite. Sand with sage green is warm and natural. White with anthracite is crisp and modern.

2. Get the bottles off the edges

Shampoo bottles on the edge of the bath and soap in plastic bottles by the sink make any bathroom look busy. Put the shower things in a hanging shower caddy. Fill a stoneware soap dispenser with hand soap, and put toothbrushes in the matching stoneware toothbrush cup. Everything else goes into the bathroom cabinet with mirror.

3. Give towels room to dry

Towels that hang folded on one hook stay damp and start to smell. A freestanding towel rack with three rails lets each towel hang open. They dry faster and look tidy.

4. Thirty seconds after every shower

Limescale on the shower screen comes from drops that dry on the glass. Pull a shower squeegee down the glass after every shower, and the problem disappears. Hang it on its suction hook so it is always within reach. A water-saving shower head reduces the amount of hot water too, which keeps the room less steamy.

5. Add something natural

A wooden bath mat, a small plant on the windowsill or a candle on the edge of the bath brings warmth into a room of tiles and glass. Acacia wood dries quickly after a shower and never gets moldy. For candlelight without a flame, LED candles of real wax are safe near towels.

Keep it up

A calm bathroom stays calm with a short routine. Change hand towels every two or three days, wash bath mats once a week, and take everything off the sink once a month to clean underneath. Ten minutes a week keeps the room as restful as on the first day.

Posted on — Leave a comment

Your first week with a new dog

Your first week with a new dog

Bringing home a new dog is one of the happiest days there is. It is also a big change, for you and for the dog. A little preparation makes the first week calmer for everyone.

Before day one: the basics

Have these ready before your dog arrives:

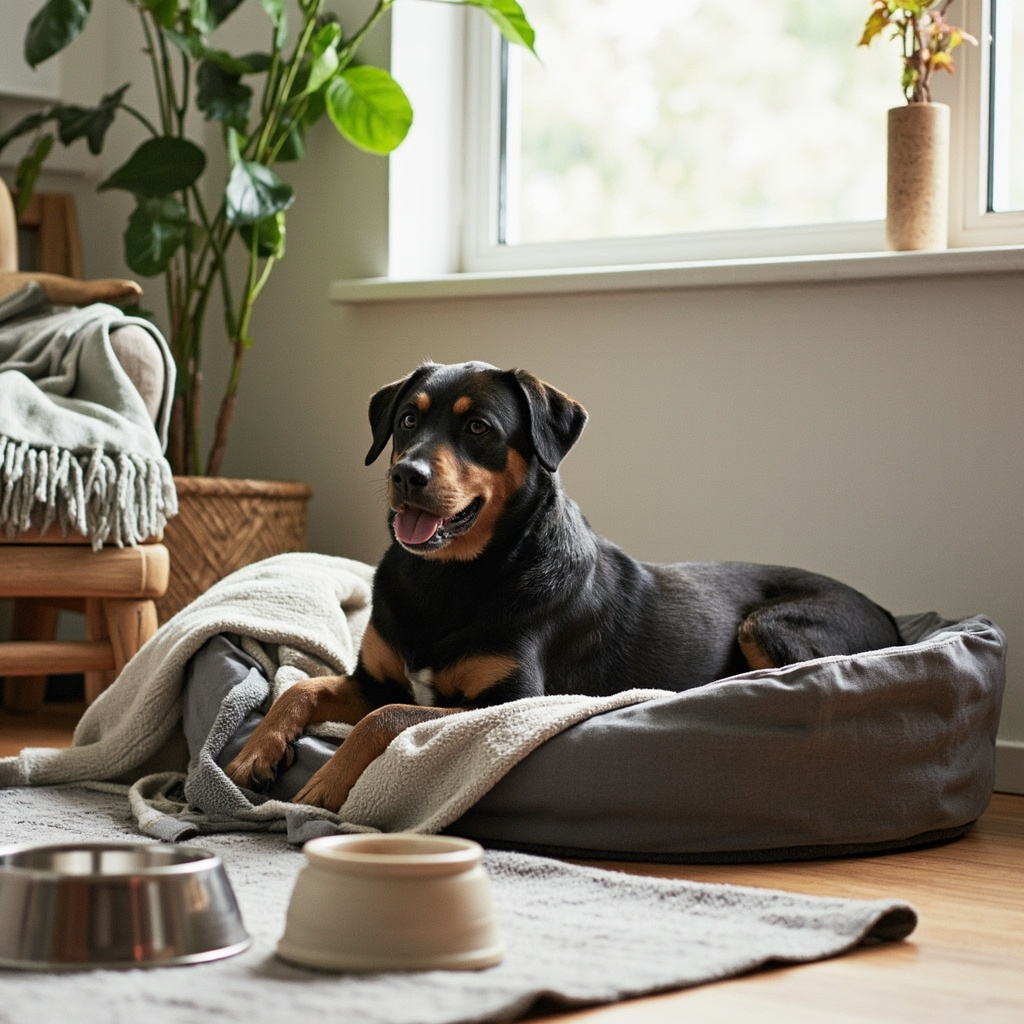
  • A bed in a quiet corner. The Kwispelhof round dog bed has a raised rim that many dogs like to rest their head on.
  • Two bowls, one for food and one for water. Stainless steel food bowls are easy to clean. A heavy ceramic water bowl doesn’t tip over.
  • A collar with a name tag and your phone number, and a leash. The leather dog collar and the leather dog leash 1.5 meters are a classic pair.
  • Poop bags with a holder that clips onto the leash.
  • Food, preferably the same food your dog ate before, in an airtight pet food storage container.

Collar or harness?

A collar is fine for a dog that walks calmly. Many new dogs pull, especially in the first weeks. A padded dog harness spreads the pull over the chest instead of the throat. It is kinder and gives you more control. Use the collar for the name tag, and clip the leash to the harness.

The first days

Keep the first days quiet. Your dog has a lot to take in: new smells, new sounds, new people. Let it explore one or two rooms first. Don’t invite all your friends at once.

Show your dog where it sleeps, where it eats and where it can go outside. Go out often, after waking, after eating and after play. Praise every success outside.

Routine helps

Dogs feel safe with routine. Feed at the same times, walk at the same times, and go to bed at the same time. After a week or two, your dog knows what to expect.

Play and bond

Play is the fastest way to build a bond. A rope dog toy is good for a gentle game of tug-of-war. Rubber dog balls are made for fetch. Keep play sessions short and end before your dog gets too excited.

Patience

Some dogs settle in within days, others need weeks. Give your dog time. A soft fleece dog blanket with its own smell helps it feel at home, also in the car or at the vet. By the end of the first month, it will feel like your dog has always been there.

Posted on — Leave a comment

Stay warm on a winter walk: the three layers

Stay warm on a winter walk: the three layers

A thick winter coat feels warm when you leave the house. Ten minutes into a brisk walk, you are sweating. When you stop to look at the view, you get cold. The solution is not a thicker coat, but three thinner layers that each do one job.

Layer one: keep your skin dry

The first layer sits against your skin. Its job is not to keep you warm, but to keep you dry. Wet skin loses heat much faster than dry skin. A cotton T-shirt soaks up sweat and stays cold and clammy. A thermal shirt, long sleeve, moves the moisture away from your skin to the outside, where it can evaporate. You stay dry, and dry means warm.

Layer two: hold the warmth

The second layer traps warm air close to your body. Fleece is ideal. It is light, warm and dries quickly. The men’s fleece sweater has a short zip, so you can let out heat when you walk uphill. The women’s fleece jacket has a full zip and a stand-up collar. On a cold but dry day, a quilted body warmer over a fleece keeps your core warm and leaves your arms free.

Layer three: stop wind and rain

The outer layer protects the other two. Wind blows warm air out of a fleece in seconds, and rain soaks it. A windproof, waterproof jacket stops both. The Wolkendek men’s winter jacket, waterproof, has a zip-out inner jacket, so it works as a shell or as a warm coat. The Wolkendek rain jackets have zips under the arms to let out moisture.

Don’t forget the ends

Your head, hands and feet lose heat quickly.

  • A merino wool beanie is thin, warm and doesn’t itch. The folded cuff gives a double layer over your ears.
  • Gloves with touchscreen fingertips let you check a map without baring your hands.
  • Wool socks, 3 pairs, keep your feet warm in boots. For long hikes, the merino hiking socks prevent blisters.
  • A checked scarf closes the gap at your neck.

Adjust as you go

The beauty of layers is that you can adjust them. Open a zip when you warm up. Take off the beanie on a climb. Put everything back on when you stop. Start a walk feeling slightly cool: within ten minutes, you will be just right.

A vacuum flask 1 liter with hot tea in your backpack 30 liters makes every winter walk better.